08 November, 2019

on the dangers of half-assing prevention

I am swimming in nectarines right now

This is the first day of actual picking of nectarines: the first day...

November 2019

It's so much that I've started out by bottling, to get the biggest and nicest fruit bottled for later:

20191105_142711

People on the gardening groups I'm in keep asking me how I keep fruit fly from my fruit. But when I tell them I net the entire tree, they keep on going back to smaller options.

Can't they put out traps?

Can't they net the individual branches?

Why does it have to be the entire tree? Isn't that a lot of money and effort?

Yes, yes it is. But it's more money and effort to throw out an entire harvest that you've spent 8 months of the year preparing for because the fruit fly got to it. It's the effort and money that you spent for those 8 months of the year, because you couldn't be bothered spending 2 hours setting up a frame for netting to go over the tree.

The first year I didn't net a thing. Everything went to fruit fly. I didn't get a single fruit.

The next year, I set traps - dozens of traps. That didn't work either - again, all fruit was riddled with larvae and inedible.

The next year I netted individual branches. That partially worked - I got about 40% of the harvest.

And then last year, I netted the entire tree.

Nectarines in my garden

100% harvest. Every fruit on that tree was edible. They weren't always pretty and some of them developed mould before I could get around to picking them, but they weren't riddled with fruit fly the way the previous harvests were.

This year, again, I've netted the tree, and it's been ~99% effective. The 1% is because the tree is now too large for the net I had for it last year and there's a small crack in the net. But if I spot the holes, I feed them to the chooks, and the chooks are making short work of them (and they love the fruit flesh).

So when I say to fully net your tree, I'm saying I tried all the other steps and found that only fully netting the tree worked. I tried nickle-and-diming it back in the beginning, but I had to go all-out to successfully get a crop from non-sprayed trees.

Maybe you could get a good crop just by hanging up traps, but I can guarantee you a good crop by fully netting the tree with fruit fly exclusion netting.

Is it pretty? No, it's not.

But is it effective? Absolutely.

04 November, 2019

Then and Now, the Five Year version

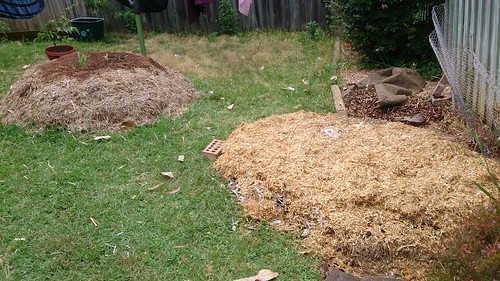
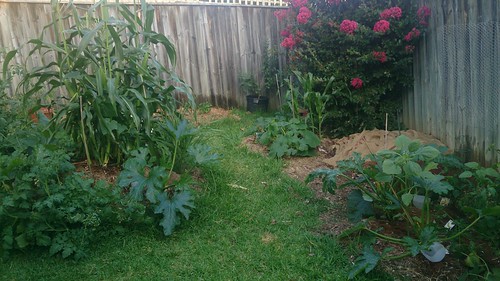
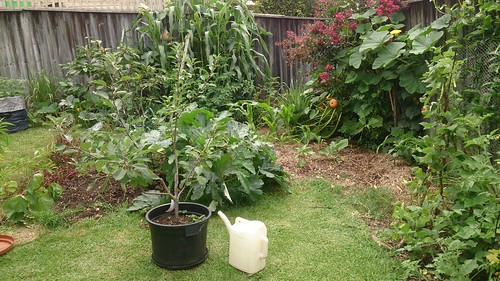
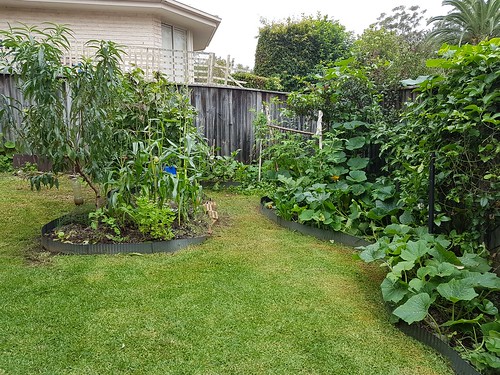
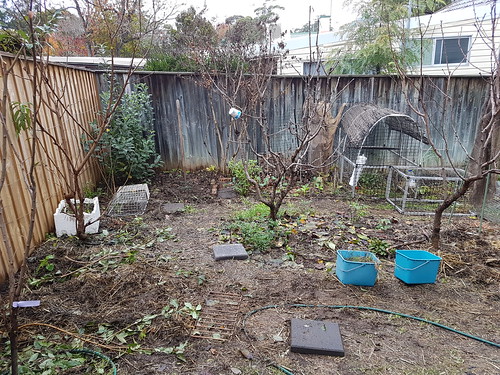
We've been in the house for five years. In that time, we went from a grassy backyard with a hills hoist and a shed to...

First garden photo:

Last

I regret not taking one when we moved into the house, but pretty much as soon as we had possession, I started working on the garden... Then:

four beds
And Then:
Garden in January
And Then:
Garden February 2015
And Then:
Sunday late march
And Then:
Garden Jan 2016
And Then:
Garden March 2017
And Then:
Garden 2017
And Then:
Garden mid February
And Then:
Garden winter 2018
And Then:
Garden winter to spring
And Then:
Garden Nov 2018
And Then:
Garden views October 2019
And Then:
Garden views October 2019
And Now:
November 2019

To be honest, I wish I'd planned it better. It's been very organic, growing slowly: a little bit here and a little bit there. The plans have changed a lot over the years, I've had to rethink, reconfigure, rearrange. A lot of work has gone into it, and I probably could have made it so much easier for myself if I'd really planned it properly...

But I guess this is the principle of taking feedback and readjusting to circumstances, right?

30 October, 2019

various videos

Many videos for watching later

Self-watering raised bed construction

Wicking beds - Sustainable Gardening Australia Footprint Flicks

How to make a wicking bed container food garden for Randwick

Self-Watering wicking bed
verdict: pretty useful.

Wicking Pots

Wicking bed how to.. A self watering garden bed: close

Self-watering planter: relevant because this is probably close to what I want to do.

Hugelkulture Pots
(too long-winded)

Hugelculture: In A Pot! (nursery trick)

How to build and install underground watering system

DIY Underground Watering System

Annual Backyard Hugelkultur Maintenance & Planting Out The Beds
Pretty good, lots of tips and ideas --

Why Crop Rotation is a waste of time
Interesting argument.

the Johnson-Su compost bioreactor

Iteration One - February 2019

The first iteration of the Johnson-Su compost bioreactor was made in December 2018, during a permabee at my house
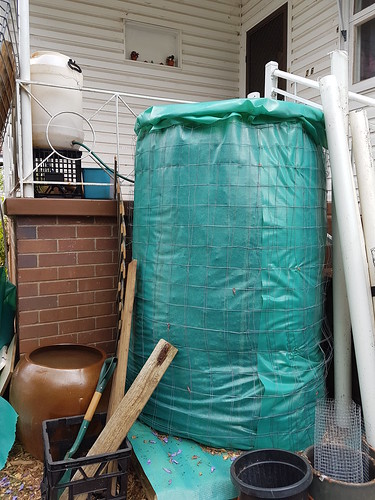
Bioreactor

There were a few variations in the way we built this:

1. The wire was thinner than it was in the video - maybe 4-gauge, while the video wire was about 6-gauge or something?

2. The plastic was green and translucent rather than black, which may have made a difference to the bio-organisms that are supposed to be occupying the compost: they may not like the light, so the outside may end up not quite as well-processed as the inside.

3. The woodchips were actual woodchips, minimum 2.5cm (1 inch) and many were rather larger.

Otherwise we built the compost bioreactor according to the specifications in this video and left it be.

I don't think there was quite enough nitrogen materials for the bioreactor, because it didn't heat up at all. I had to add coffee and horseshit to the top of it and it's not really soaked all the way through. Next time, I'll spend a couple of weeks building up the nitrogenous materials: coffee, lawn clippings, horseshit, vege refuse from the local greengrocer...

Anyway, the compost didn't hot-decompose at the start, but so far as I can tell from turning it over, it's still decomposing fairly well with a regular application of runoff wash water (sometimes mixed with human urine). It's only been 3 months, though, so it's difficult to be sure - I think you're supposed to leave it for 5-6 months at least.


Iteration Two - July 2019

I'm writing this in October 2019, 2 months ago after I had another permabee, during which we took apart the Johnson-Su bioreactor.

Permabee 2019

There was some decomposed material, but not the entirety of the bioreactor as expected from the video. The compost was filled with undecomposed woodchips. This was disappointing to say the least.

So we sifted some of the composted matter out and rebuilt the bioreactor, chipping up the larger pieces of wood and branch the better to decompose.

It seems to be decomposing a little faster than last time; it's been two months and it has a fairly significant slump to it, which suggests it's processing. The 'lid' has blown off - we've had some strong winds in late winter and early spring, and when it rains (as it occasionally does here) the lid fills with water that then needs to be redirected either back into the compost or into the garden.

The wooden pallet beneath the biocomposter has collapsed. It held up for the first biocompost, and then through the making of the second, but it's given up the ghost, and the biocompost is leaning rather heavily. The plastic underneath the biocomposter is very necessary to keep the pallet from rotting since the materials are being regularly dampened.

Speaking of which, a bucket a day into the water reservoir over the biocomposter, seeping down through the tubing that I put there, seems to be working pretty well. It's a manual labour that's a little frustrating, but not terrible now that spring is in and it's not freezing cold outside in the mornings.

I have recently added some 'duck straw' - straw that has been used for keeping ducks - whole and unchopped, and now I'm regretting that, just a little. I should have run it over with the mower a few times and worked from there.


several thoughts

The first video didn't really specify the size of the woodchips - it just said 'woodchips' which I've since discovered means something else in the USA to what it means here in Australia (Wood Chip Gardening: What I Wish I Knew When I First Started). The second video by Johnson on filling the bioreactor specified the size - 3/4 inch (1.75cm) size - and noted that he pretty much chopped up the leaves using either a leaf mulcher or a lawnmower.

The size of the pieces in the biocomposter is going to make a big difference, I feel. As with any compost, when you're making it, you want things to be damp and chopped up into small pieces.


Going forward

At this point, I'm not sure that making it a third time would be terribly helpful: while the plastic is still okay to go, the wire is falling apart and probably best suited as a climbing frame for something light - beans or peas, perhaps. Also, the pallet underneath would need replacing. I guess it's a different kind of compost to the hot compost in the composting bays, or the stuff that I make in the black geobins.

Ultimately, the value of the biocompost is in the high volume of microbial-organisms that take up residence in the decomposing compost due to not being regularly turned the way a 'hot' compost would be turned. Also, not having to turn the compost - a big attractant given how many composts I have that require regular turning over!


I probably wouldn't want to make it more than once a year; let it sit for six months, gather up the materials for the other six months, breaking them down, then making the compost and letting it sit.

Hm. I'm also wondering if I could make the biocompost using a geobin structure for the framework.
28 October, 2019

Then And Now

8th June 2018L
Garden winter 2018
One year and one month later - 7th July 2019:
Garden winter 2019
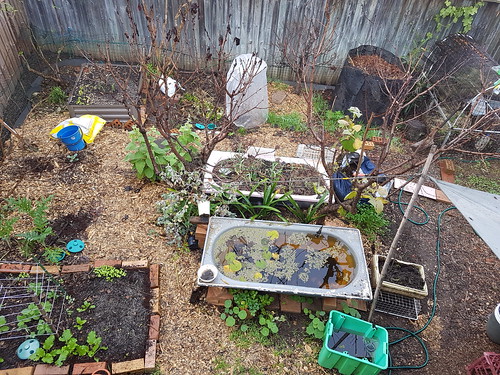
It's fascinating how much more structure there is with the chook tunnels, the beds marked out, the bathtub gardens. And once I have the bed frames in, it'll be even more clearly marked out...

26 October, 2019

the summers die one by one - how soon they fly on and on!

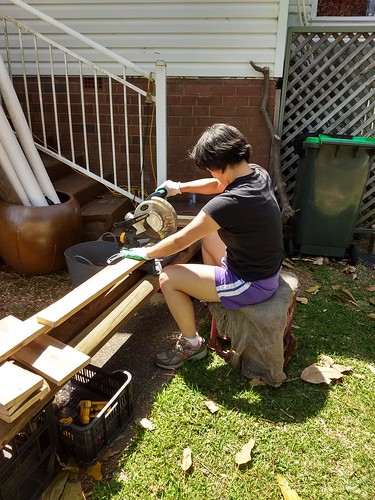
Today, a friend and I made a garden bed frame using pallet wood.

It turned out to be a pretty intensive process, partly because we were working it out as we went along, but we started at 9am and finished around 5pm, with a morning tea break and lunch (about 90 minutes total). A lot of it was working out how to do what I wanted done with the tools that we had.

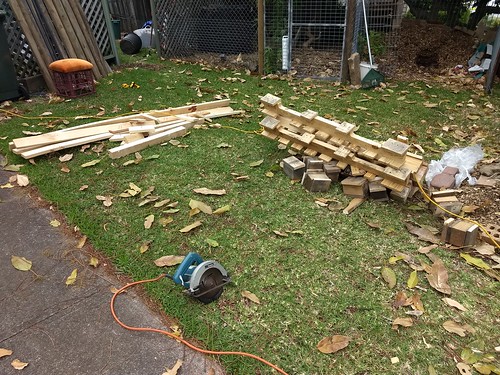
Firstly, there was cutting up the pallets. At one point early on, I nearly cut through the cord - ended up breaking through the plastic part but not actually exposing any of the electrical wire. lucky!

pallet bed frame - offcuts

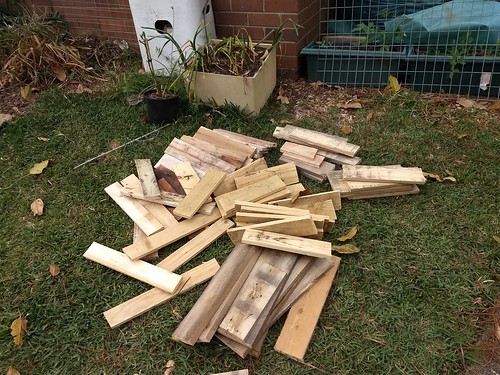
The pile of wood that we got from five pallets was pretty decent:

pallet bed frame - sides

I got practise using the dropsaw:

pallet bed frame - dropsaw

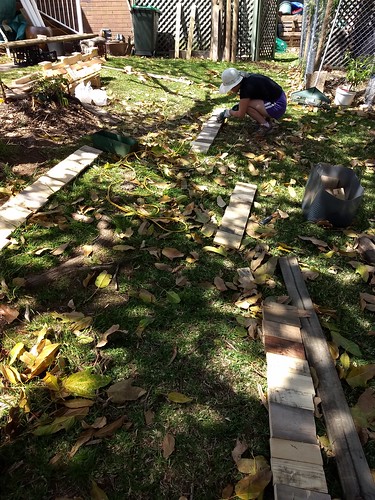
Then there was measuring, nailing the 'palings' to the braces, and connecting the sides.

This is me using an angle-grinder to file off the tips of the nails. The nails I'd bought were a fraction too long, meaning they stuck out of the other side of the wood.

pallet bed frame - finishing

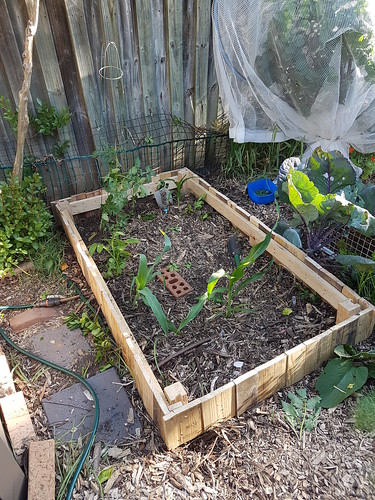
Squaring it up was an absolute nightmare, partly because of the corner posts I chose to use, partly because we were a bit lackadaisical with the measurements. But, after a lot of back and forth on how we were going to do this...success!

pallet bed frame - finished

And the chook tractor fits nicely on top of it.

pallet bed frame - with tractor

So, that's one - on the Crepe-Apricot bed.

I'd like at least two more - for the Apricot-Avo bed and the Avo-Shed beds. Ideally, I'd like four more - for the two beds previously mentioned, plus the Plum-Stone and Apple-Crepe beds, just so the backyard has a single aesthetic. Anyway, ith the Sydney Edible Garden Trail 2020 coming up, I need to start putting down my design on paper, so there's a better record of how the design has changed over the last five years.

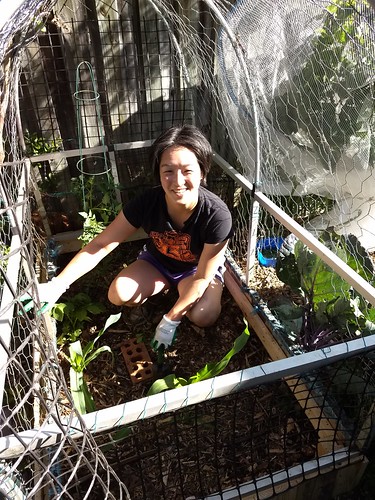
But this is the last photo of the day:

Bed frame

On Monday I'll be planting out the bed, most likely with Jolly Roger corn and...pumpkin? Some kind of melon? More dried beans? I don't even know right now. Have to think about it some more.

18 October, 2019

things to do this spring

1. Fill the beds with so many green growing things that if necessary, I can chop-and-drop some of them when the heat hits.
2. Make frames for the chook stations. (YouTube vid: How to build a pallet bed)
3. Plant out the chook yard with a) one bed of Clucker Tucker, b) things along the fenceline, both inside and out
4. Paint the fence.